Old Style Cast Iron Bath to Stylish Hotel Style Bathroom
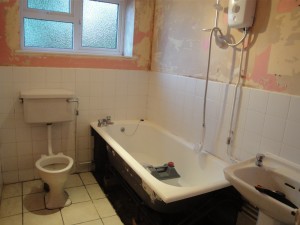
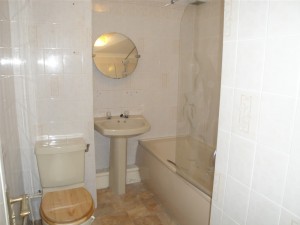
On the first inspection of the bathroom we found that the bath could better be placed at an alternative position in the bathroom. The bath was originally fitted against the window when it could be moved and placed against a solid wall, making it more suitable to be a shower bath. When the decision from the owners was made to move the bath, it was then decided that a p-shaped shower bath would be more suitable.
It was decided to move the bath to the location of the sink and the sink of the bath
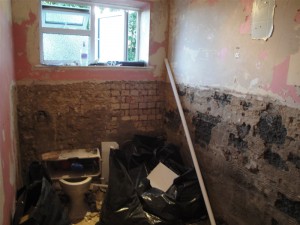
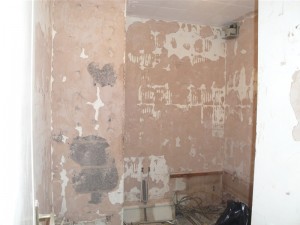
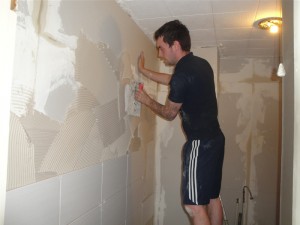
The normal procedure was carried out with first removing the bathroom suite and the all of the wall tiles. It was necessary to move the radiator which was to be replaced with a towel radiator warmer.
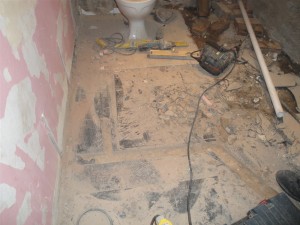
For us to achieve this, we had to cut channels into the concerete floor so the water feeds to and from the radiator could be hidden below the floor tiles.
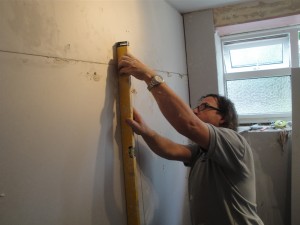
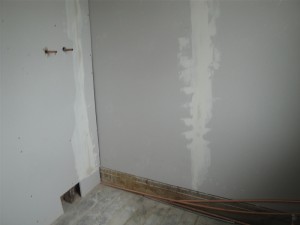
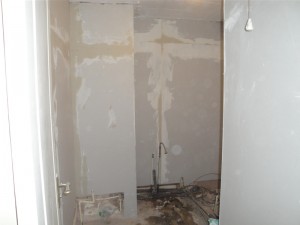
Smooth walls look great, but flat walls are necessary for tiled walls. That is why we always recommend that bathroom walls are boarded before before being tiled and not plastered. We boarded the walls; many of the water pipes were then hidden behind the boards including the hot and cold water supply for the power shower.
Always board a bathroom wall to ensure the wall is flat for tiling. Do not plaster the walls
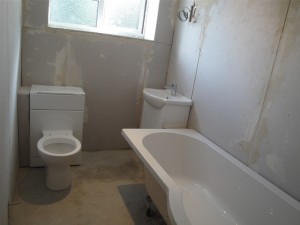
As the bathroom furniture is being located to different areas within the bathroom, the floor needed to be leveled, just like the walls tiles, the floor needs to be flat to ensure a good finish. As the floor is concrete, we used a self leveling compound.
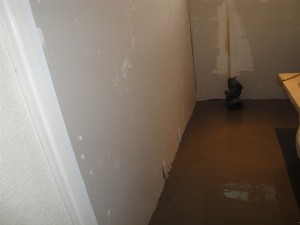
Bathroom Walls Boarded, Floor Leveled
The dirty work has been completed, with the bathroom now in a state that will allow for it to be put back together. So it is time to place all the items in the correct place, and box in the areas between the vanity toilet and the wall and also the vanity sink wall and bath.
Tile the Bathroom
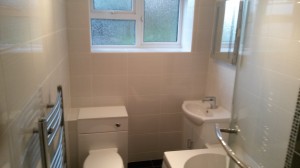
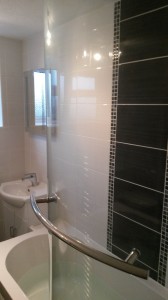
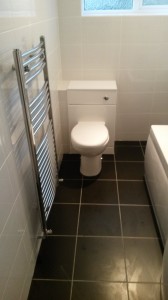
The bathroom walls are tiled and a feature is placed above the centre of bath. The floor is also tiled with a matching matt black floor tile.
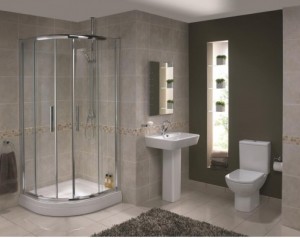
Bathroom To Walk In Corner Quadrant Shower Conversion
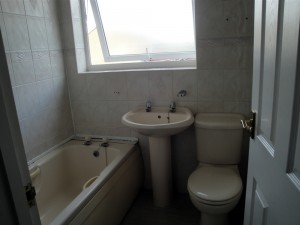
This house is a traditional style of house in Coventry which had a traditional type of bathroom consisting of a Bath with twin taps, pedestal sink and toilet. The bath had a fitted electric shower.
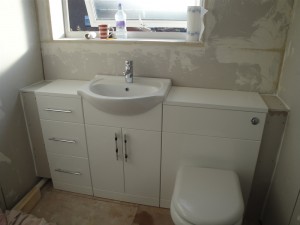
The family requested the conversion of the bathroom to a shower room with fitted vanity units
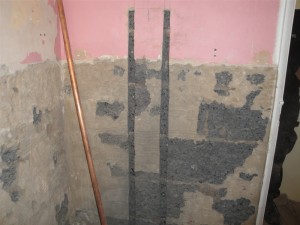
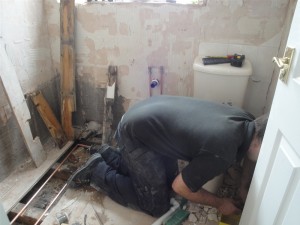
As with all of our work, we began by removing the bathrooms suite, capping the water pipes and then removing all of the wall tiles and any of the loose plaster. In this house we found that on one wall, the plaster at the top of the wall was ready to fall off exposing the bricks behind. For this reason we decided to totally remove the plaster on that wall, however at the bottom of the all the original sand and cement tile adhesive that had been used in the 1930’s was still in place. This results with us using a sds hammer with a tile chisel to remove all of the remaining stubborn sand and cement plaster.
Getting The Walls Ready For Tiling
We always board bathroom walls in preparation for tiling, watch our video section to find out why. At this stage we also used plywood on the floor to ensure that it is flat ready for the floor tiles.
Fitting the Toilet Sink and Vanity Draws
As the bath had been removed and is to be replaced with a shower, there is more floor space available in the bathroom. For this reason it was possible to add to the bathroom
- Vanity Sink
- Vanity Toilet
- Set of Vanity Draws
Fitting The Quadrant Shower Tray
The shower tray is raised off the floor and fitted tightly to the boarded walls so that it is possible to double seal the shower to ensure no future leaks.
Tiling Of the Walls and Floor
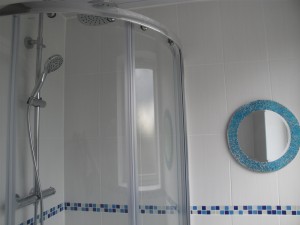
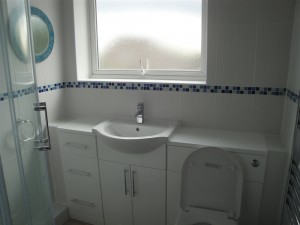
The waste pipe running from the quadrant shower has been boxed in and tiled over to match the walls. The wall tiles have been fitted vertically with a blue mosaic border as requested by the clients. The floor is tiled with a sparkle effect non slip floor tile.
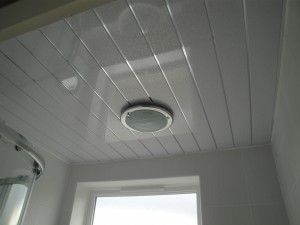
Ceiling Galaxy white Panels
The ceiling has been paneled with white Galaxy effect panels
Brighton Wall and Floor Tiles
The Brighton ceramic wall tiles is a popular collection of wall tile suitable for bathrooms. The tile has a grain running though the tile, is flat with a gloss finish.
There is a wide range of colours available in the Brighton range. By choosing the white tile as the main wall tile, it is then possible to create a feature wall by running a matching strip from the colour selection and finish with either the matching strip tile or a mosaic glass border.
- The tile size is 248mm * 348mm and 8mm deep
- The Border Strip Tile is 248mm × 80mm and 8mm deep
- Floor Tiles 333mm * 333mm
Brighton Black and White Feature Wall
This is by far our most popular colour range. The Brighton Black and White Feature wall bathroom, with horizontal fitted tiles highlighted with a black feature finished with a black, white and grey Mosaic feature border. Though the feature could also be finished with the Pavilion back strip border tile.
Brighton Grey and White Feature Wall
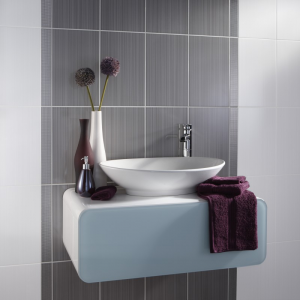
The tile has been fitted vertically with a grey feature wall edged with Brighton Shine
-
Wall Tiles
- Brighton Grey Tile
- Brighton White Tile
- Brighton Shine Cool Strip
-
Floor
- Brighton White Floor Tile
Brighton Lilac and White Feature Wall
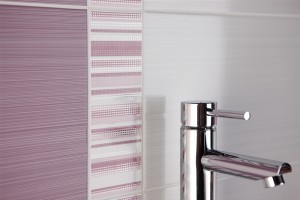
The tile has been fitted horizontally with a white feature and includes a vertical running matching strip tile.
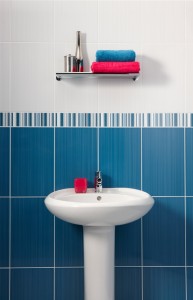
Brighton Blue and White with Border
The tile has been fitted vertically, with Brighton blue tiles for the base, Brighton blue border tiles and Brighton white tiles for the top half of the bathroom.
Roundhay Ceramic Bathroom Wall Tile
Roundhay Ceramic Bathroom Wall Tile, natural stone effect glaze with a marbling effect
Wall Tile 250mm * 500mm * 8mm deep
Floor 333mm * 333 mm
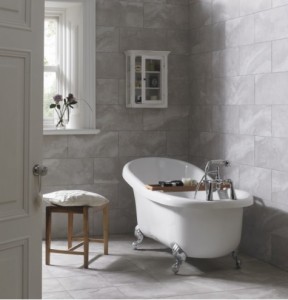
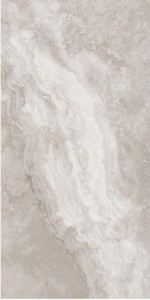
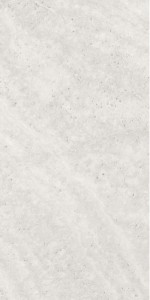
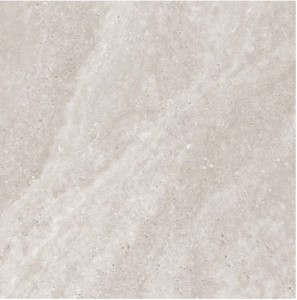
Roundhay Stone effect Ceramic Grey wall tile
Roundhay Stone effect Ceramic grey floor tile
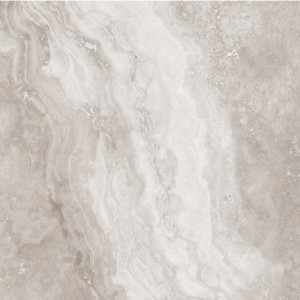
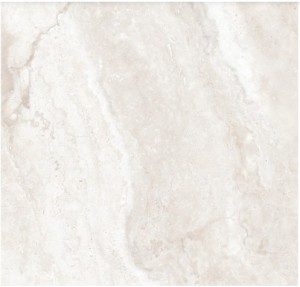
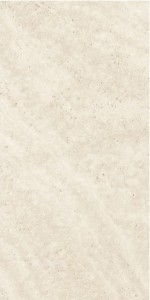
Roundhay Stone effect Ceramic Ivory Bathroom Wall Tile
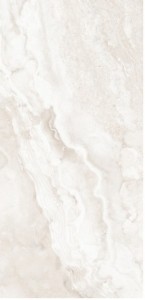
Dorchester Bathroom Tiles
Dorchester Travertine effect ceramic bathroom wall tiles
Size 300mm * 600mm * 9mm
Dorchester Sandstone
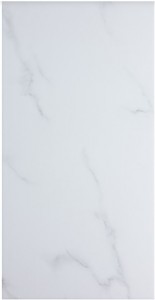
Dorchester Carrara White
Travertine Effect
Gloss Travertine Effect Light Grey Wall
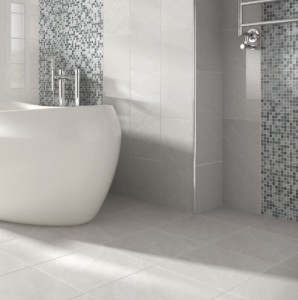
A flat ceramic stone Travertine effect bathroom wall tile
Size 500mm * 250mm * 7mm deep
Satin Travertine Effect Light Grey Floor
Gloss Travertine Effect Ivory Wall
Satin Travertine Effect Ivory Floor Tile
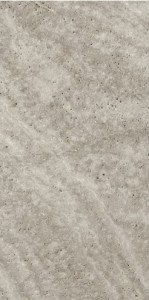
Gloss Travertine Effect Dark Grey Wall Tile
Satin Travertine Ceramic Effect Dark Grey Floor Tile
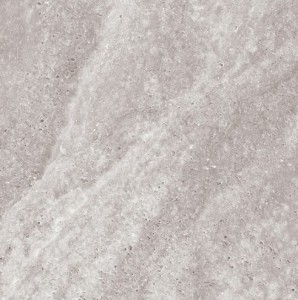
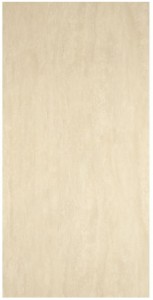
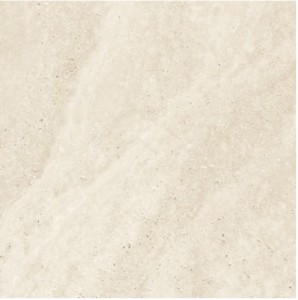
Travertine Effect Ivory Wall Tile
Travertine Effect Ivory Floor Tile
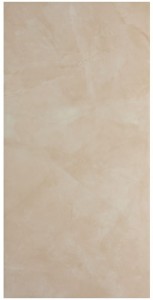
Travertine Effect Beige Wall Tile
Travertine Effect Beige Floor Tile
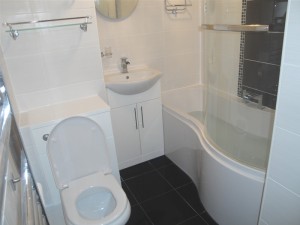
Bathroom Suit Shower Bath Vanity Sink and Vanity Toilet
The client had requested a Bathroom Suit, Shower Bath,Vanity Sink and Toilet
Before any new bathroom suite or tiles could be delivered to the premises, the first job was to remove the existing bathroom suit and fit isolation values to the water feeds at the sink, bath and toilet.
The remainder of the first day was taken up with removing the existing wall tiles. The original tiles had been fitted very well and it was impossible to remove them from the walls without some of the wall plaster being removed at the same time. One of the walls, so much of the plaster had fallen away we decided to remove the remainder of the plaster, going back to the brick work.
At this stage we took the opportunity of changing all the pipe work ready for the new units. As the bath would be finished with a fixed head bar shower, the copper pipe work for the shower was fitted . All the pipe work will finally be hidden behind the tiled walls or tiled boxing.
After this was complete the next stage was to board the bathroom walls. This is an important step, as boarding the walls will ensure the walls are flat. Often clients ask if we will plaster the walls after removing the tiles. We explain that this is not the correct solution to prepare walls for tiling. The walls at this stage are not flat, plastering them will not make them flat only smooth. For a good tile finish, flat walls are essential.
Normally we would continue the work with fitting the shower bath. However on this occasion the bathroom suit had not been delivered so we moved on to tiling the walls, though not the area of the wall that will meet the bath for reasons of ensuring the important double seal. A double seal will ensure that a bath or shower tray will not leak at the edges. Always demand a double seal when having a bath or shower fitted.
After two days of waiting the bathroom suit finally arrived. First fitting the taps and waste, then fixed the bath against the two walls and filled it with water, with the weight in the bath, we ran a silicon seal around the edge of the bath and the boarded walls. This step created the first seal of the double bath seal. After leaving the silicon to dry for some time, we carried on with the tiling bringing the tiles to the bath edge.
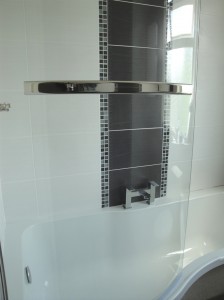
A feature wall was created running vertically above the bathroom taps, this was achieved by using a matching tile of a darker colour and edging it with a double Mosaic border.
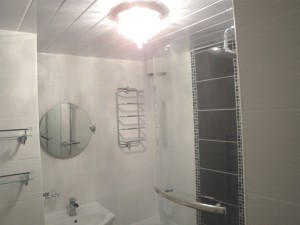
The vanity unit can now be plumber in and fitted, followed by the fixed head bar shower and shower screen.
The radiator is being replaced with a Towel radiator (towel warmer).
The client purchased some items such as shelfing, toilet roll holder etc that we fitted.
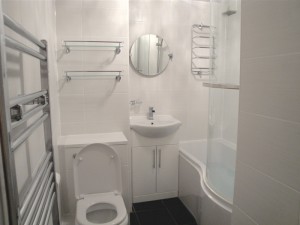
Here is the finished bathroom suit.
Original Bathroom and New Bathroom Video
This video shows the original bathroom and some of the stages that took place which concluded with a new stylish fitted shower bathroom with vanity fitted furniture.


